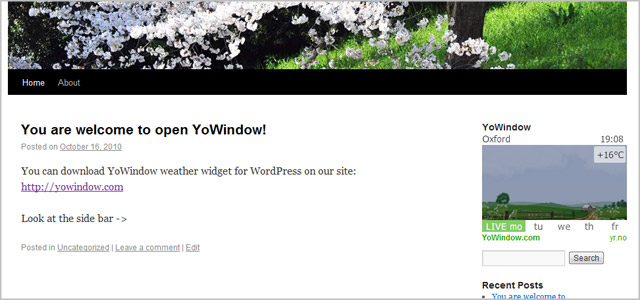
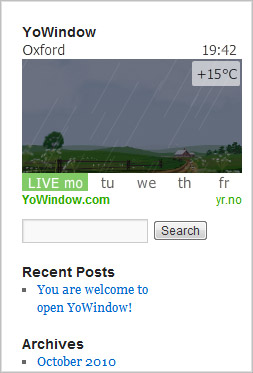
In this tutorial we will add YoWindow weather widget to the side bar of Wordpress blog. Like on the picture below
It's easy!
1. First of all - open your WordPress blog dashboard.
2. Go to Appearance/Widgets

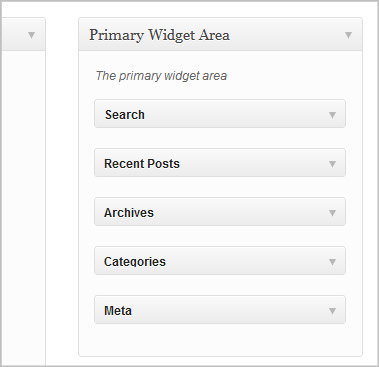
3. Look at the top-right of the page. Make sure "Primary Widget Area" box is open.
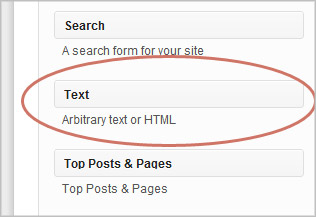
4. Drag "Text" widget to Primary Widget Area
Dragging...
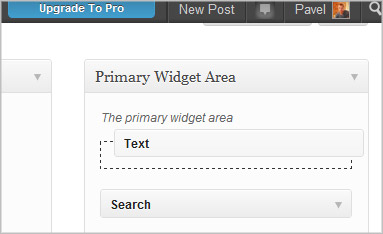
After you have dragged "Text" widget to Primary Widget Area the following window will open.

5. Now you need to fill this window with YoWindow widget HTML code.
Go to YoWindow weather widget page
There you decide how your widget will look.
Select your location and other options.
On the last step (Publish) you need to choose the output format.
This is important!
Choose "WordPress" if your blog is hosted on WordPress or if you don't know what "hosted" means.
Choose "Any website or blog" if your blog is hosted on your own server.
Then copy the HTML code at the bottom of the page.
Paste HTML into the "Text" widget window on the WordPress.
Don't forget to give the widget a title.
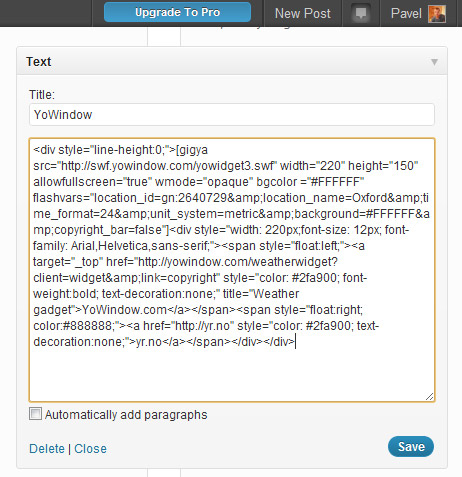
Click Save.
6. Go to your blog :)
Here you are - YoWindow widget is reporting your weather to your blog readers.
If you have experienced any difficulties - ask for help on our forum.
